Keensert Thread Repair Insert
Features and Benefits
A Keensert is a solid-body insert that is often the first choice in demanding thread repair applications. Some of the features and benefits of Keensert inserts include...
- Simplified installation
Inserts are easily installed and removed using standard tooling.The insert solid body and the use of standardized threads makes it difficult to accidentally cross-thread the insert during installation.
- Locking features
Once installed, there is a high resistance to insert pullout or torque out. - Flexibility
Inserts are able to be installed in a variety of housing materials including aluminum, steel, cast iron, and plastics.Different insert wall thickness configurations are available to suit a variety of application requirements.
In addition to thread repair applications, Keenserts are also sometimes used in new part manufacture to help provide thread durability to a softer base material.
How It Works:
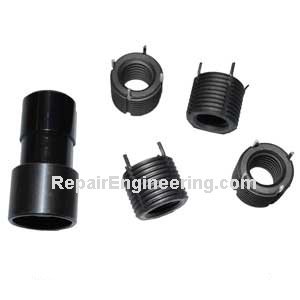
- A Keensert is a solid threaded bushing-style insert that is available in standard dimension metric and inch sizes.
- The insert is provided with keys that lock the insert to the workpiece during installation.
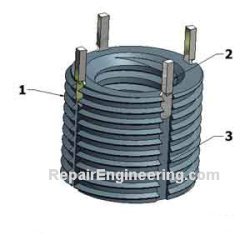
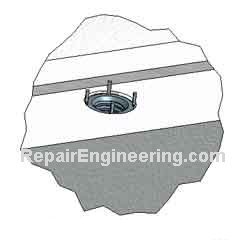
As supplied, the locking keys are initially located in the extended position as shown here.
- The locking keys are mounted in dove-tail groove features cut into the insert body.
During the last step of the installation, the keys are driven deeper into the dovetail slots to effectively lock the insert to the workpiece housing.
Installation Instructions:
Installation Procedure:
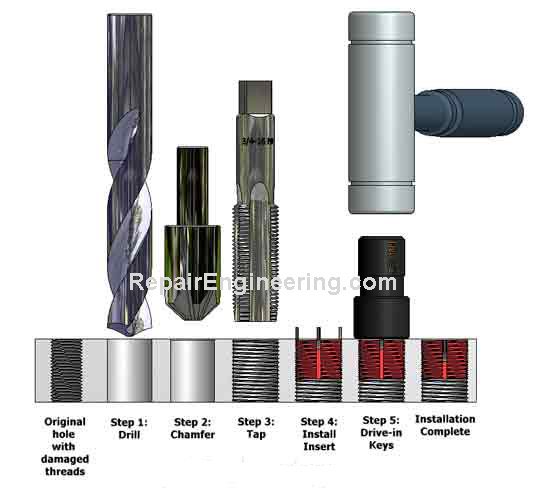
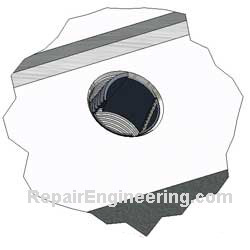
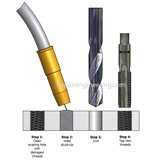
- Drill out the old threads using the recommended standard drill size.
- Chamfer the hole using a countersink tool. In addition to being a cosmetic feature, the chamfered surface also helps to control the depth of the insert during installation.
- Tap the insert installation threads in the housing using the recommended standard tap size.
After the hole is drilled, chamfered, and tapped... clean the hole so that it is free of chips in preparation for installation of the insert.
- Install the insert.
If the hole is prepared properly, the insert should screw-in easily by hand until the insert keys contact the hole chamfer surface.
At this point, the top of the insert should be slightly recessed below the surface of the workpiece.
- Drive the insert keys into the housing with several light hammer taps on the installation tool.
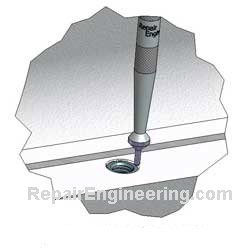
After using the installation tool, it is a good practice to use a hammer and a small center punch as shown here to drive the tops of the keys below the top surface of the insert.
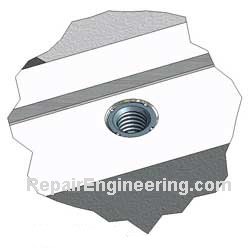
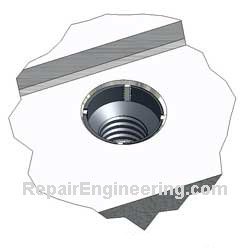
When the installation is complete, the tops of each of the keys should be flush, or slightly recessed below the top of the insert.
Questions and Answers: What is the process to remove a Keensert? The following process is recommended...
- As shown here, drill a relief hole into the insert to remove the material surrounding the insert locking keys.
The Keensert installation data chart lists a recommended minimum drill diameter and depth for the insert removal drilled hole.
However, if an insert removal data chart is unavailable, it is easy to determine the required hole dimensions as follows...
- Use a pair of calipers to measure the "back-to-back" spacing of the insert locking keys. This measurement is the minimum drill diameter size.
- Determine the required drilled hole depth by observation during the drilling process. The depth of the drilled hole needs to be at least deep enough to free-up the locking portion of the insert keys.
- Bend the locking keys inward toward the center of the insert to break them loose from the housing and remove them.
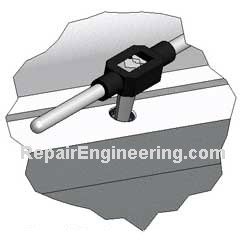
- After each of the locking keys are removed, it should be possible to use an Easy-Out and tap handle as shown here to unthread the remaining insert from the workpiece.
- If the old insert does not unscrew readily when using the Easy-Out tool... An alternate removal approach is to continue drilling through the remaining Keensert.
After drilling through the length of the insert, it will be partitioned in segments along the lines of the original dovetail slot features.
Remove the insert segments from the workpiece as shown here.
Note:
While Easy-Outs are useful tools, they do need to be used with caution and judgement.
Easy-Outs are very brittle, and can shatter without warning. It can be very difficult to remove a broken Easy-Out from a workpiece.
Rather than forcing the tool, it is better to try another removal method if the old Keensert does not unthread easily from the housing when using the Easy-Out.
Some Keenserts are solid - without an internal threaded hole. What is the purpose of a solid body insert design? A solid insert is useful for several reasons. Some examples of how solid inserts are used...
- Relocate mispositioned holes
Once a solid insert is installed, it can be drilled and tapped to position the new hole in the proper location. - Custom internal threads
If a thread repair application requires a non-standard internal thread type, such as an NPT thread, for example, the solid insert can be drilled and tapped to suit. - Plug existing holes
Featured Repair Projects:
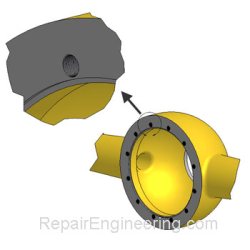
Differential Housing Repair:
This repair project describes the process repairing stripped threads in a Caterpillar differential housing using Keensert thread inserts..
Return to Keensert Top
Impeller
Repair Project
 Impeller Repair
